You probably heard that Apple’s App Store is rather picky when it comes to accepting apps. Apple does indeed make it much more difficult to publish apps than Google. However, that doesn’t mean it’s impossible. You will need patience and, if possible, expert advice.

You need a developer license for both the App Store and Play Store. Play Store licenses are relatively inexpensive ($25) and last forever, but Apple licenses are more expensive ($99), must be renewed every year, and have a more complicated upload process. You should start with the Play Store, test the app with some users in the production environment, then move to the App Store once everything is ready.
In this post, we’ll assume you’ve already signed up for the Apple Developer Program, that your app follows Apple’s App Review and Human Interface Guidelines, and that you’re ready to ship. It incorporates information from the most recent version of XCode and offers context from Apple’s own documentation.
Are you worried about your app being rejected? Then this article is for you.
Read more to find out how to submit your app to the App Store.
Prerequisites
- A project that is ready for submission and passes Apple’s App Store Guidelines
- Valid Apple developer program account (not the Apple Developer Enterprise Program)
- A computer that runs Mac OS X
- Xcode 13 installed.
- Keychain Access
- Minimum SDK
- Online group event in-app purchases (new)
- Account deletion within apps (new)
How to submit your app to the App store
1. Create an app store account
Sign up for the Apple Developer Program
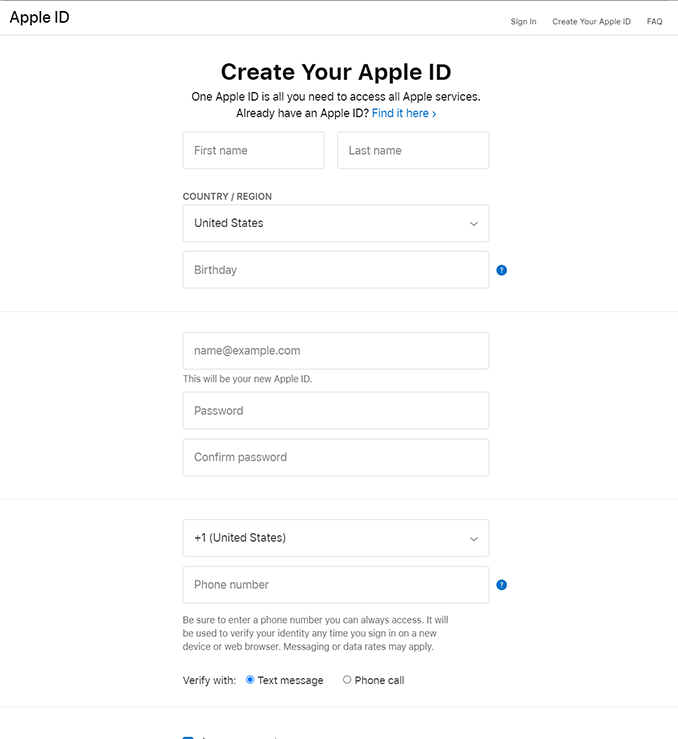

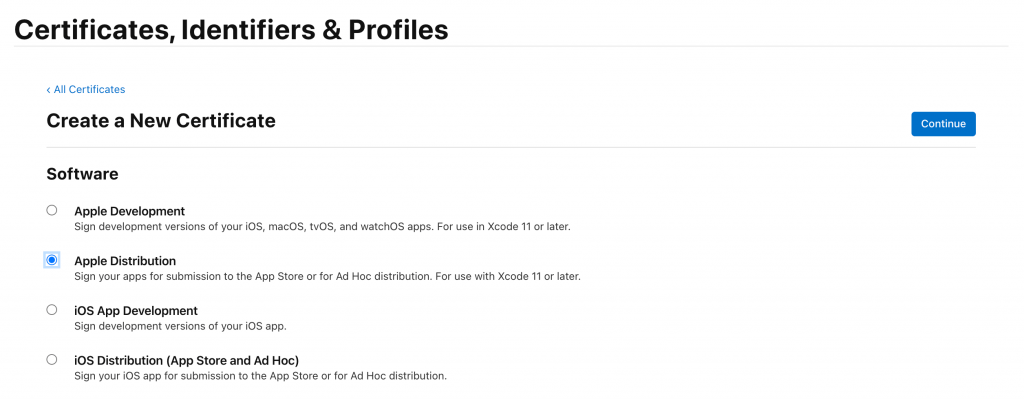
After your Apple Developer Program Enrollment is completed, you will be able to access developer resources from the Apple Developer Portal. Here you will need to create a few items:
Distribution certificate: This certificate that identifies your team and allows you to submit apps to the App Store.
App ID: This is the identifier of your app. The Bundle ID must match the bundle identifier in your app binaries. When you create the App ID manually, you will see a list of features your app can add (like Push Notifications, Sign in with Apple, etc.). If you wish, you can configure those features later.
Provisioning profile: Only apps signed by the Apple can be installed on an iOS device. This becomes an issue for developers, because you will likely want to test the app on a real device before submitting the app for review. This problem can be solved by provisioning profiles. Provisioning profiles are embedded in your app binaries and let the app run before Apple signs it. Every app needs its own provisioning profile.
2. Create an App Store Connect for your app
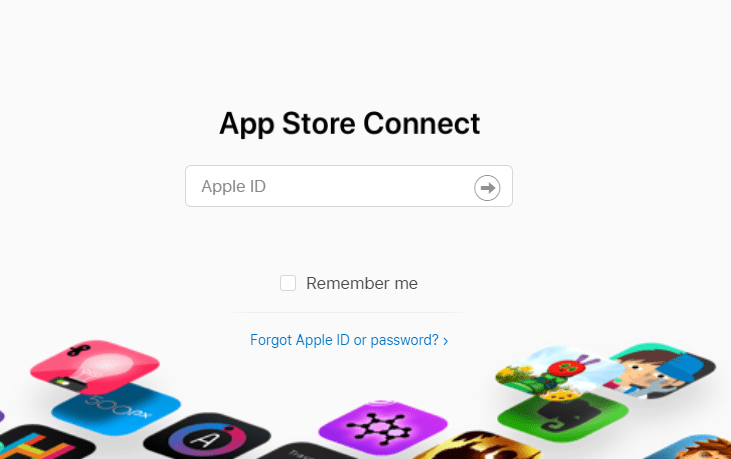
Having created the items in the Apple Developer Portal as described above, we can move on to App Store Connect (Formerly iTunes Connect), the platform where applications are actually uploaded.
GET AN APP STORE CONNECT ACCOUNT BY:
- Setting up your own App Store Connect organization and being the team agent. Use the Apple ID you registered with when you enrolled in the Apple Developer Program.
- Alternatively, becoming a member of an existing organization as an admin, technical, or app manager.
For paid apps :
If you are submitting a paid app, you will need to sign a contract that covers the terms of payment. If your app is free, you can skip ahead.
Add a new app :
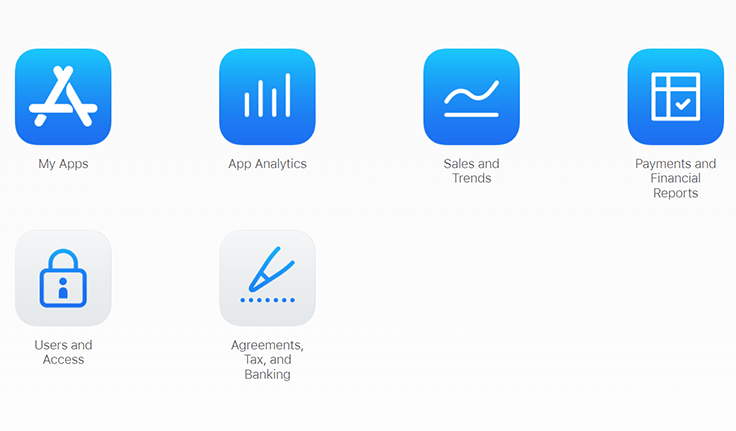
Select My Apps from the App Store Connect dashboard.
On the upper-left corner, click the + sign, then select New App.
The following details are required to create an App Store Connect record: platform, app name, default language, bundle ID, and SKU. You can’t change these details later, so be careful of what you enter.
Use keywords in your app name for App Store optimization.
Your Xcode project’s Info. List file must match the bundle ID in the target’s General > Identity section.
It is up to you to set the SKU, and it is not visible to users. It can be an identifier for your company or something else meaningful to you. It must begin with a letter or number, and be a combination of letters, numbers, hyphens, periods, and underscores.
If applicable, you can also set user access at this step.


3. Configure the app’s metadata and other details in its App Store Connect record
In the “App Store” Tab in App Store Connect, on the “App Information” section you can add other languages, categories, and your app’s Privacy Policy URL.
Step1
Select App Information from the left panel. Now add the required, localizable, and editable properties for your app including subtitle and category.
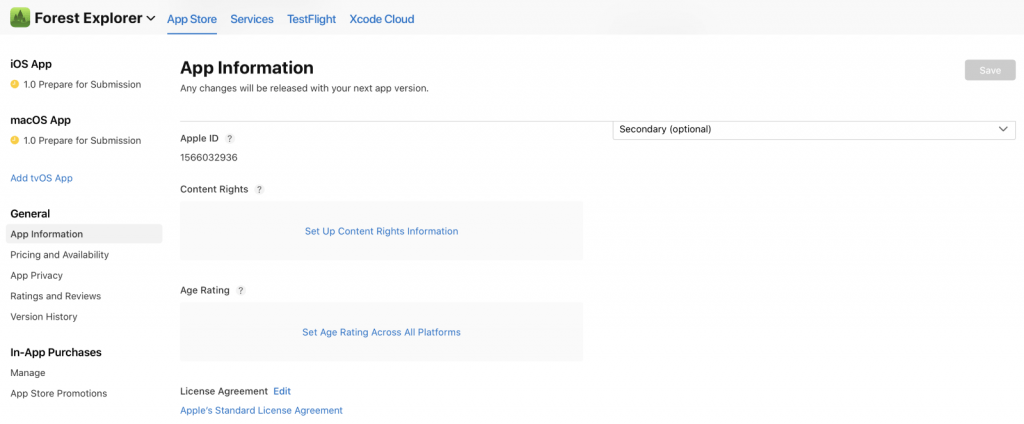
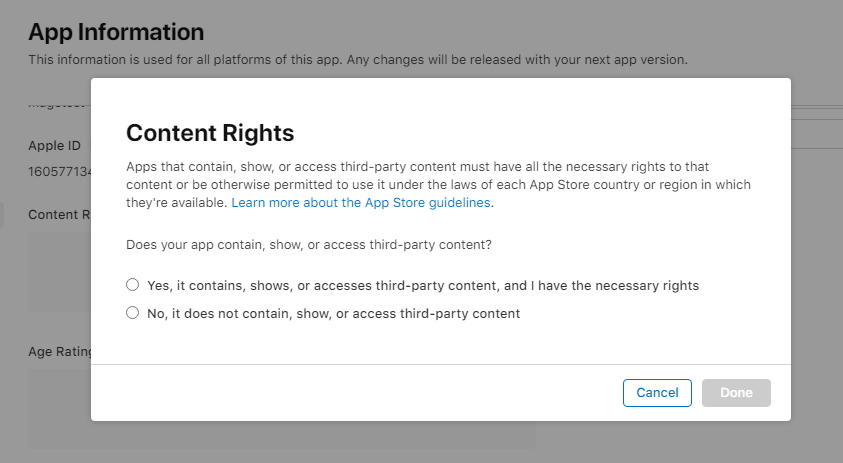
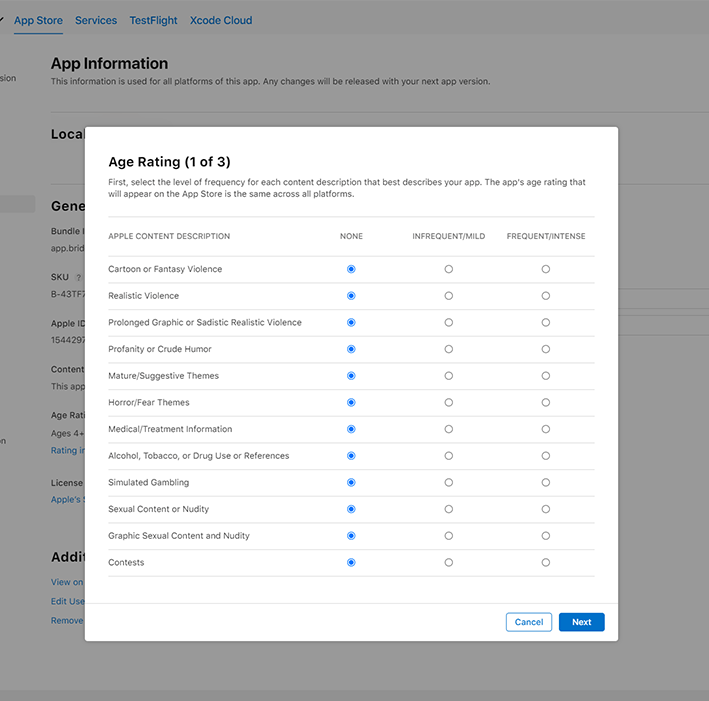
Select content rights for your app to submit your app to the app store.
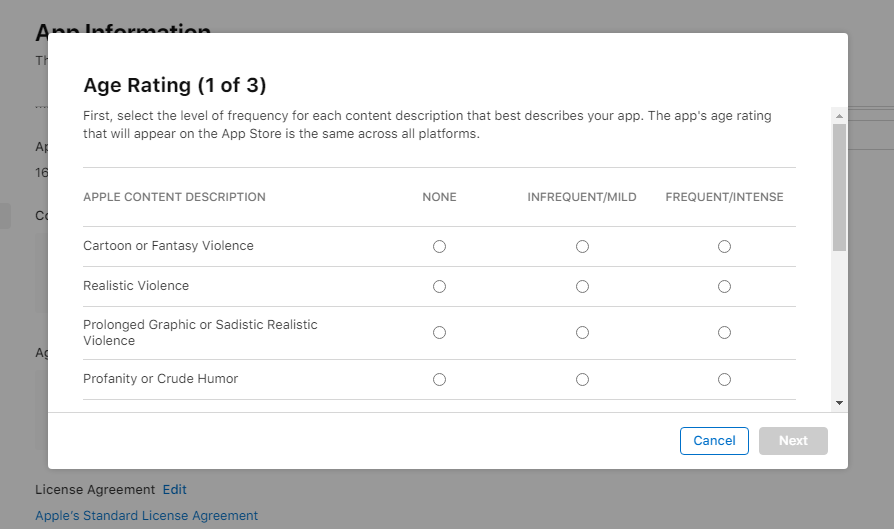
Select Age Rating for your app
Step 2
In the “Pricing and Availability” section, select your app as free or set its prices.

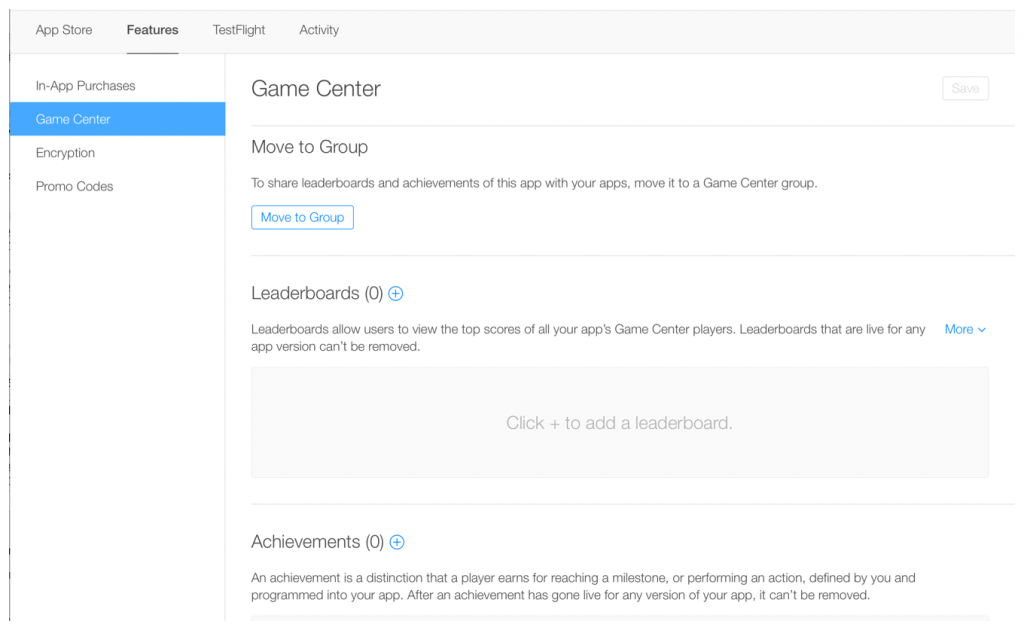
You can add further configurations in your app under the “Features” tab, like Game Center and in-app purchases.
Step 3
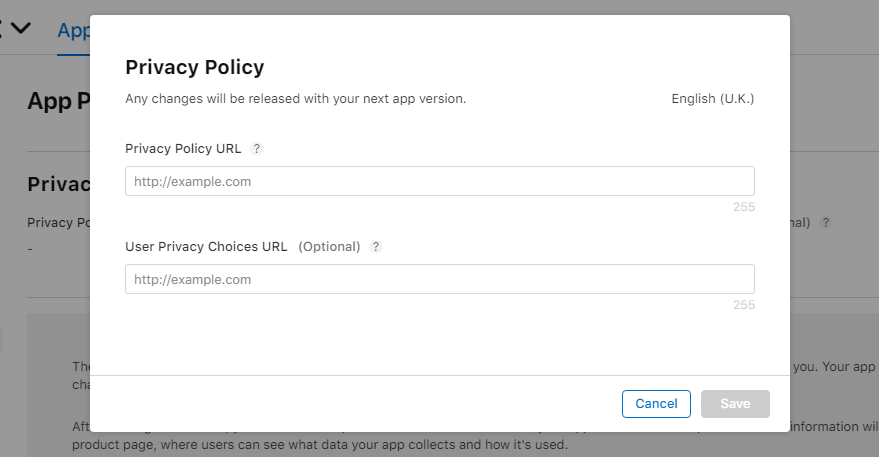
The next step is “App Privacy.” As Apple has an extremely strict privacy policy this step is quite important. Enter the Privacy Policy URL for your app. You can use any online privacy policy generator to help you to generate a URL.
Step 4
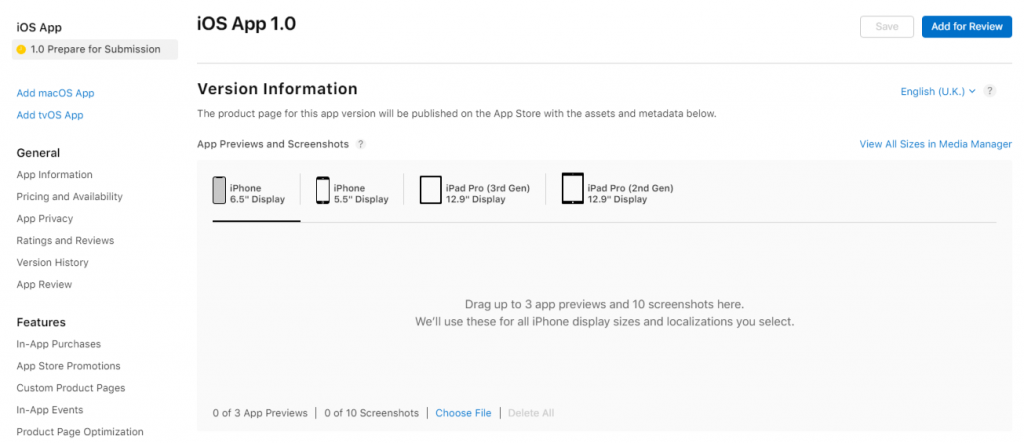
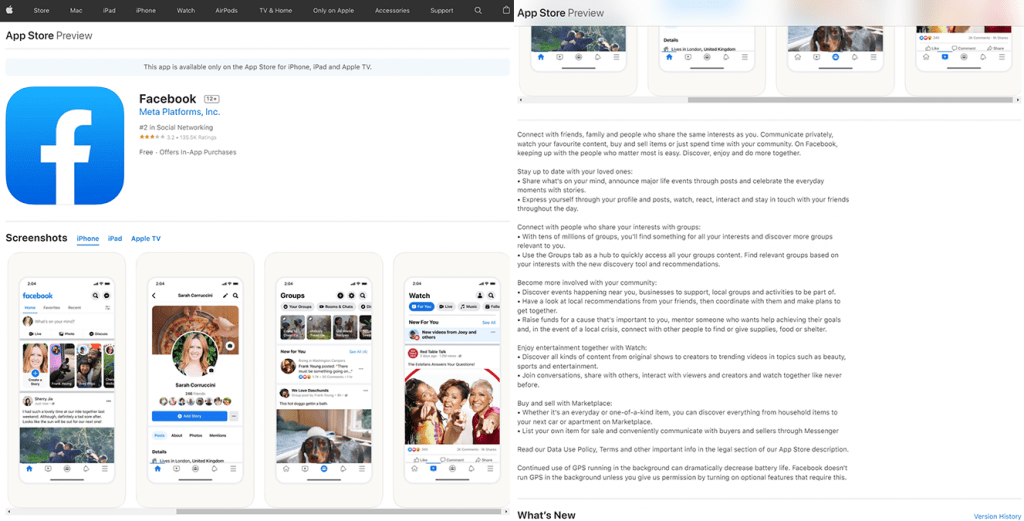
Add the information of your app for your “product page” on the App Store.
Upload your app’s screenshots only in either JPEG or PNG format and without any status bars. You can upload multiple screenshots for one device and use them for all the other sizes (like iPad pro or mini).
Click on “Save” after your screenshots have finished uploading.
Scroll down a little and enter other details of your app like: app’s description, keywords, support URL, and marketing URL.
In the “General App Information,” upload your app’s icon, and enter its version number, copyright, and contact information.
- There are curtail guidelines that you must follow:
- App icon size should be 1024px x 1024px.
- The version number should exactly match the one in Xcode of your app.
Step 5
Click on Edit next to “Rating” and select the options for your app. Fill this honestly — your app can be rejected during the review if this doesn’t match its rating.
In the “App Review Information” page, enter your contact information, and any key notes you have for the reviewer and set the version release date.
The contact information here is not for users, rather for the reviewer if they need to reach you directly.
For first releases, you should typically set the version release date as automatic.
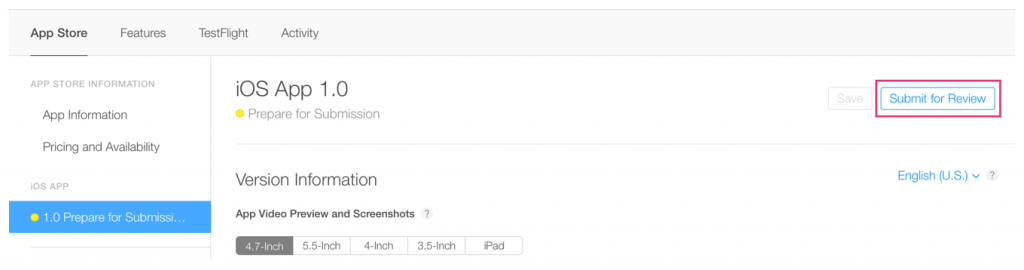
Finally, click “Save.” Now you are almost ready to “Submit for Review.”
4. Submit your app for review
Go to the “Build” option in your app’s App Store Connect data.
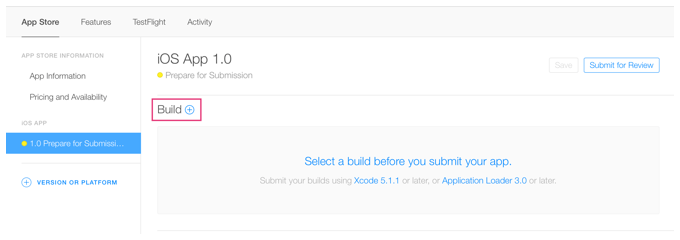
Click on the option “Select a build before you submit your app.”
Select the build that you uploaded through the Xcode. Click “Done” in the bottom right-hand corner, then Save in the top-right hand corner, then Submit for Review.
Finally, submit the Export Compliance, Advertising Identifier questions and Content Rights and click Submit.
Your app’s status should be “Waiting for Review.”
5. Check on the status of your app
In App Store Connect, select the option “Activity in the top horizontal menu, then the option “App Store Versions.”
You can view the various steps and a specific colour before it indicating:
- Red means rejection
- Yellow means under review
- Green means ready for publishing
How long does it take to get app store approval?
Typically, it takes one to three days to receive approval, further it can take up to 24 hours or so for your app to appear in the App Store once approved.
You’ll be notified of each step via e-mail.
Alternatively, if you have an urgent bug fix or need to release your release after a specific event, you can request an expedited review also.
What to do if Appstore rejects your app?
Before your app can be reviewed again, you’ll need to make the necessary changes. If you have any questions, you can contact Apple through the Resolution Center in App Store Connect. Alternatively, if you believe that your application was wrongly rejected, you can escalate the issue and submit an appeal.
Performance is one of the most common reasons for rejection in the Apple App Store. Ensure that your app is complete and that you have thoroughly tested it and fixed all bugs. When beta testing, using a bug reporting tool will reduce your app’s chances of being rejected due to performance issues.
Also read about: Reasons Why Your App Can Get Rejected By Google Play Store
Or use Swing2App instead
You know that submitting your app to the app store is a tedious task, but what if you could skip it completely and still have your app published on the App Store?
Well, this can be done easily with Swing2App!
Though we have covered in detailed steps for how to submit your app to the App store, it would be much easier if you do it using Swing2App.
Create no-code app with Swing2App and leave the job of publishing your app on the Appstore to us.
It is an effortless process:
- Create no-code app using Swing2App
- Buy any plan of your choice (starting from$33) and a $20 AppStore upload ticket. This means you can create as well as upload your iOS app in just $53!
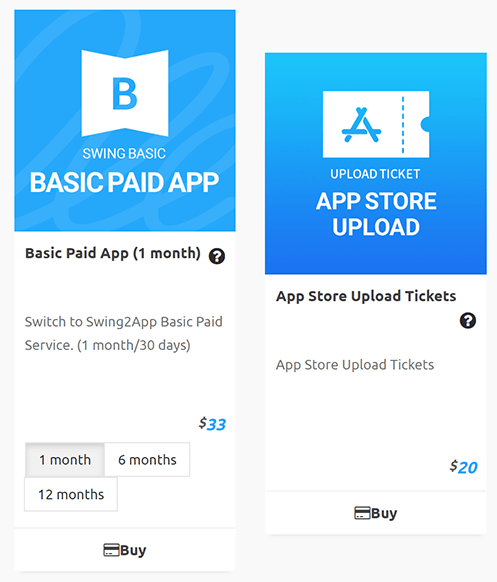
- Swing2App will upload the app on your behalf, and you can sit back and relax.
Moreover, you don’t need to worry about app rejection too, as we will handle that too.
In addition to that, you also get lifetime support from Swing2App.
So, why spend many hours worrying about app rejection when you can just leave everything to Swing2App?