Done with the app creation process & eager to launch your first app? You have come to the perfect place.
It is no news that Google Play Store holds a majority share for the app market. To be precise, it amounts to 86.1% according to IDC.
So, if you are someone who has made a wise decision to create an Android supporting their business model, then you are on the right track.
You can easily create your own Android app within minutes without any coding knowledge with Swing2app. Oh, did we forget to mention – it is absolutely free.
After app creation comes publishing. So, if you were wondering up until now ‘how to publish an app to the app store for free’ then read this article to the end for a step by step guide to app submission and more.
Without any further ado, let’s take it from the top.
Checklist To Upload App On Play Store
● Test your Android mobile app for any bugs and issues. If any, make sure to troubleshoot them before you start the publishing process.
● The size of the app is quite prominent when it comes to Google since it only allows apps with size up to 50 MB. If your app exceeds this limit, then try Android APK’s Expansion file.
● Make sure to curate your APK file with Bundle ID (also called App ID) and Version Number. This will come in handy when you need to upload a new update for your app.
● Create a private key with the help of the Release KeyStore. It is also known as the JSK file that includes credentials such as the KeyStore password.
● Make sure to go through the Google guidelines and that your app adheres to them.
● App listing before app submission will do you more good than harm. Here, you have to provide information to users regarding your app and its features. One of the best ways is to use high-quality screenshots of your app (JPEG or 24-bit PNG)(Min-320px, Max-3840px).
In the second half of 2021, new apps will be required to publish with the Android App Bundle on Google Play. New apps larger than 150 MB must use either Play Feature Delivery or Play Asset Delivery.
Note: Other best practices you can do under app listing entail – Title, Short Description, Type of application, Full Description, Category of your app, Hi-resolution icon (512 x 512)((with alpha) 32-bit PNG), Email of Developer or Company, Feature Graphic (1024 w x 500 h)(JPG or 24-bit PNG (no alpha)), URL for Privacy Policy, and Rating of the content.
Step by Step Guide On How To Publish App On Play Store
Let’s look at the steps required to upload the app to Google Play Store for free.
Step 1: Create an account on Google Play Console
Navigate to the “Google Play Console” on the web.
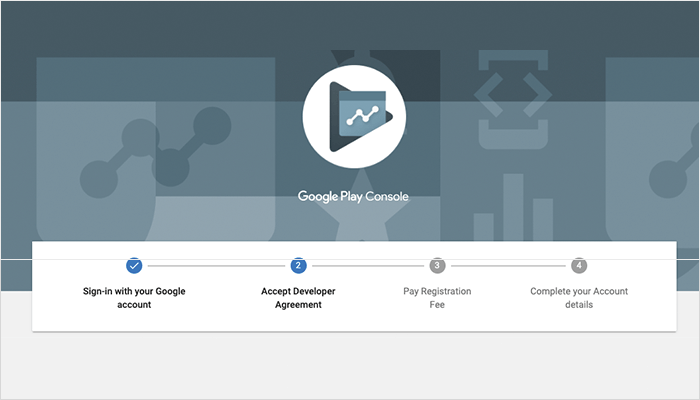
- You will automatically be given a choice to sign up with Google Play Store accounts for Console. Once you select which one you want to use, it will get registered.
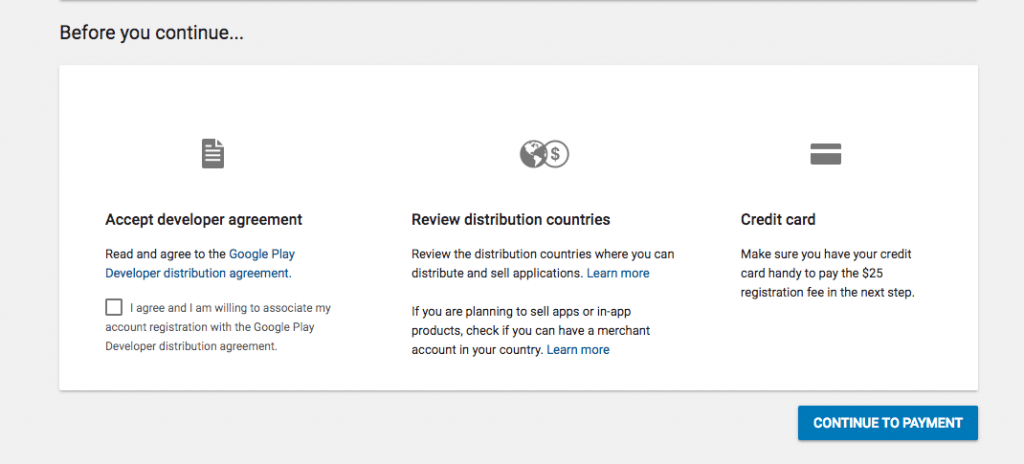
- Click ‘Agree’ to accept terms and agreements.
- Now, you will be asked to pay a one-time fee of $25 that you are already aware of. So, hit ‘Continue To Payment’.
After this, it will take approx. 48 hours to get your request for the account approved.
Step 2: Connect your developer account with Wallet Merchant Account
If your Android Play Store app entails an in-app purchases feature, then you will need to link your developer account with your Wallet merchant account. To that end, select ‘Reports’
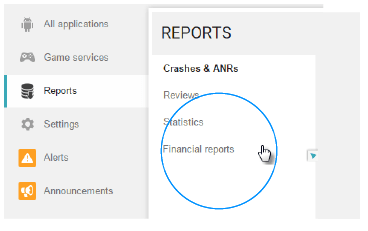
Now, click on the ‘Financial Reports’ option followed by ‘Set up a merchant account now’
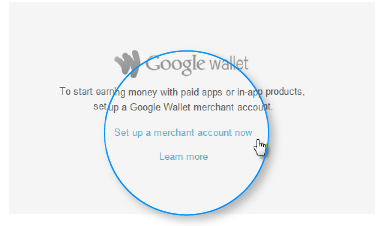
Here you need to enter all the details required. Once the merchant account links with your developer account, you will easily be able to manage and analyze your app sales and profits.
Step 3: Time for “Create Application’
- Once you are logged into your Console account, navigate to the drawer menu, and select ‘All Applications’.

Then, in the top-right corner of the screen, click on the ‘Create Application’ tab.
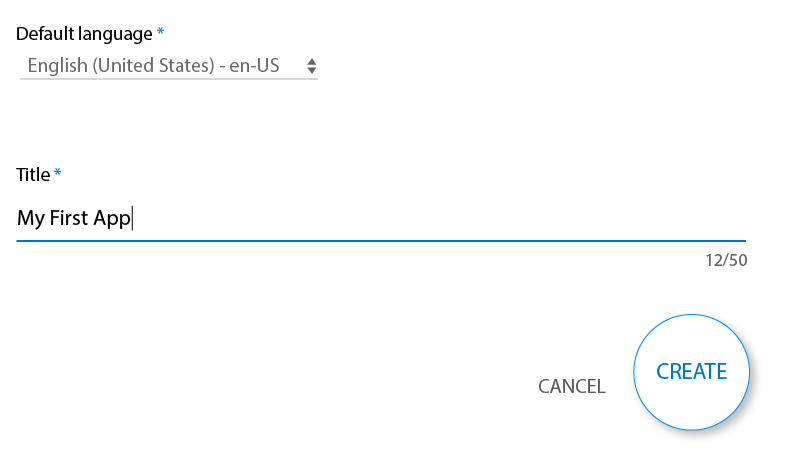
- Now, from the drop-down menu, you can choose your app’s default language.
- You need to enter your app’s name (Tile) and press on ‘Create’
Step 4: Perform App store listing
Now, in the drawer menu itself, navigate to 7 points down to ‘Store Listing’ and click on it. This is where your preparations regarding app listing will help.
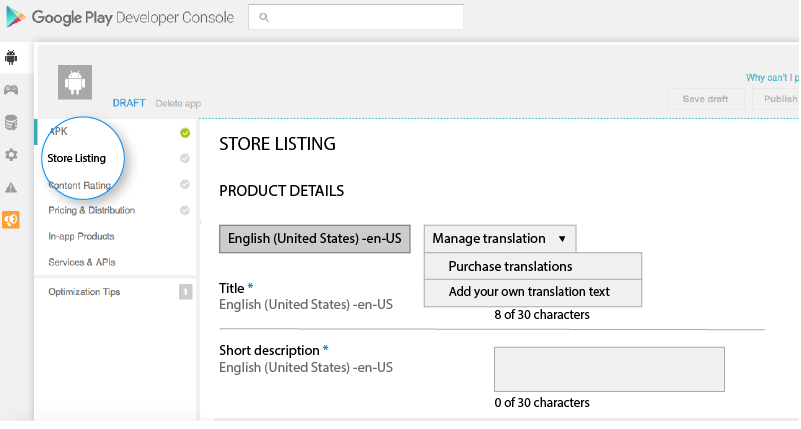
You need to enter the information asked there, i.e., product details including the ‘Title’ and ‘Short Description’.
Step 5: Upload app APK (App Bundles)
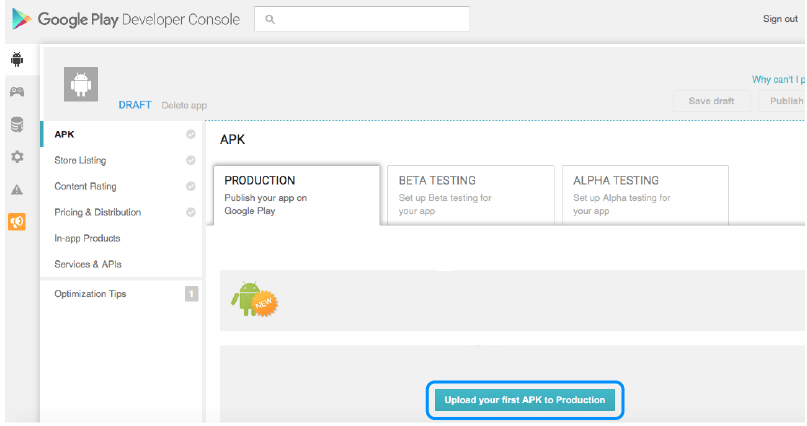
- To upload your app APK and app release, go to the ‘Release Management’ followed by ‘App Release’ in the drawer menu.
- Pick any one option among the four – close test, internal test, production release, and an open test.
- Now, click on ‘Create Release’.
- Once you land on the production page, you can choose whether you want Google Play app signing on your app or not. If not, go ahead and click on ‘OPT-OUT’.
- Click on ‘Browse Files’ and add the APK file and simultaneously name and describe your app release via on-screen instructions given to you.
- Choose ‘Review’ to cross-check the information provided by you.
- At last, hit ‘Save’.
See: 7 Reasons Why Your App Can Get Rejected By Google Play Store
Step 6: Go through ‘Content Rating’
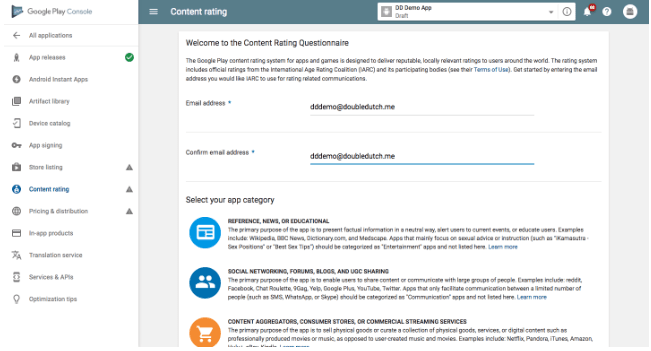
- In the menu, click on the ‘Content Rating’ option.
- Now, select ‘Continue’.
- You will be required to enter your email ID and also confirm it.
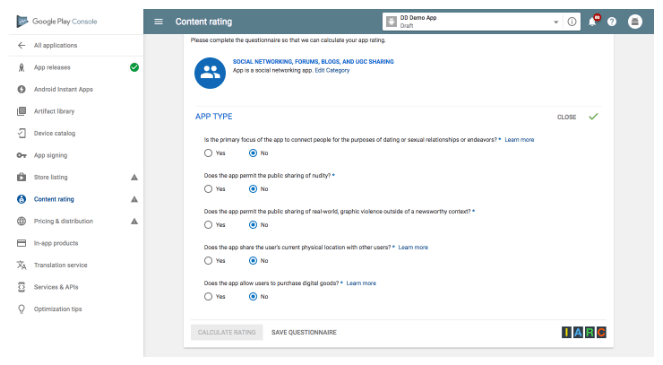
- A questionnaire related to your app rating will appear, make sure to fill it out carefully, and then choose the ‘Save Questionnaire’.
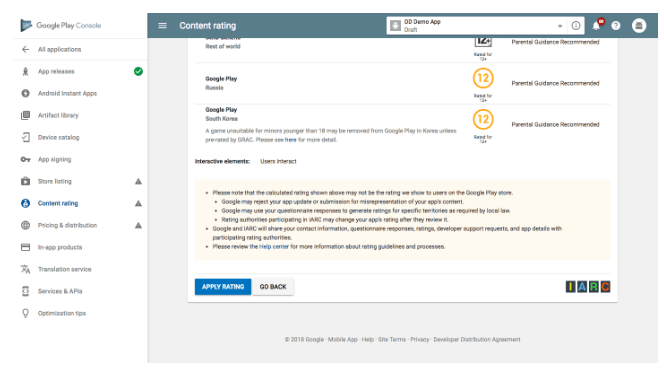
- Now, click on the option ‘Calculate Rating’ in order to see how your app fares on the Play Store in terms of ratings.
- Choose ‘Apply’.
Step 7: Set app pricing and distribution
To decide whether your app will be free or a paid one, navigate to the menu and choose the ‘Pricing and Distribution’ option.
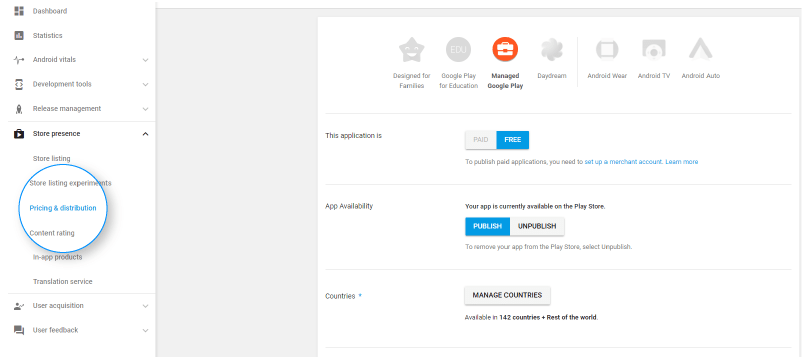
- Now, choose the countries in which you want to publish your app. You cannot release an app globally at once.
- If your app is child-safe (children under 13 years), then choose the ‘yes’ option for Primary Child-Detected. If not, just click ‘No’.
- Take similar steps to decide whether your app will support in-app advertisement or not.
Note: You cannot change your ‘free’ app into a “paid” app. So, make sure the decision is well-thought. Although, you can change the price of the app.
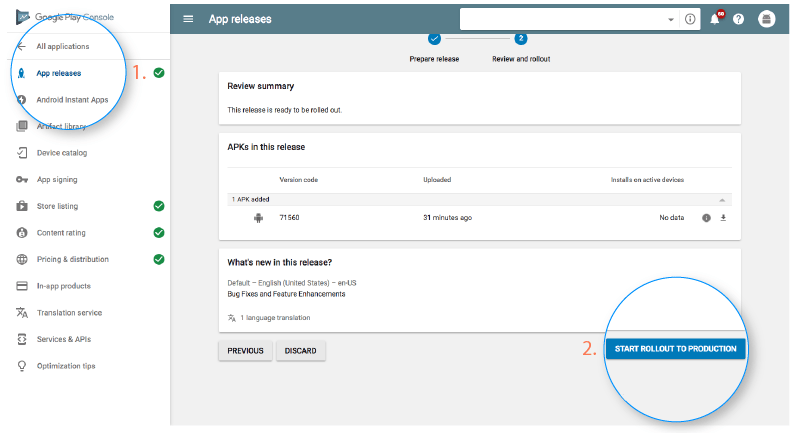
Step 8: Publish your app
- Go to the ‘App Releases’ on the main menu.
- Choose ‘Manage Production’ and then click on ‘Edit Release’.
- Now, select ‘Review’ option followed by ‘Start rollout to production’
- Click on the ‘Confirm’ option and upload the app to Google Play Store for free.
Once you submit your Android application on the Play Store, the Google app review process will begin.
To answer your question of “How long does it take to publish an app on Google Play?”
Your application may take anywhere from hours to days to just get reviewed. So, you must wait for approval. The process has been updated keeping the security and safety of users’ data in mind. So, Google advises to make a three-day waiting window for approval.
Get Your App Featured On Play Store
Merely submitting your app and getting it published on Google Play is not enough. To attract active users, you need to get your app featured on Google. To that end, you can adhere to some practices like the inclusion of the latest tech-stack, app localization, user interaction, and visual design, to name a few.
So that was our take on “how to publish an Android app in Google Play Store” To keep your app as a user-magnet, make sure to timely update your app as per the demands of users.